The events tab is where you have access to all your active and expired events or packages. You can create and edit all your events and packages from here and obtain the HTML codes needed to embed them within your own website. Also, and very importantly, the events tab is where you can sell tickets to your event. Lastly, you are able to change the display to your own customizable calendar view.
This guide will help you understand more about the beneficial features located on the events page. If you have additional questions, visit our support forum and our other How-To Guides. If you would like assistance on any of the following topics, please visit the Creating Events guide, the Using Embed Codes guide, and the Creating Packages guide for more specific supplemental instructions.
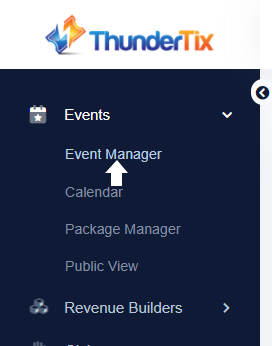
To accomplish any of these tasks, you must first be on the events page. To do this, click the Events Manager tab located in the left-hand navigation menu.
The feature you will be using the most will be creating events. Events are all of your plays, festivals, musicals, and more that customers will be buying tickets to. So you must create events for each of these performances.
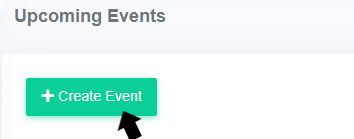
To create a new event, click on the text “+Create Event”.
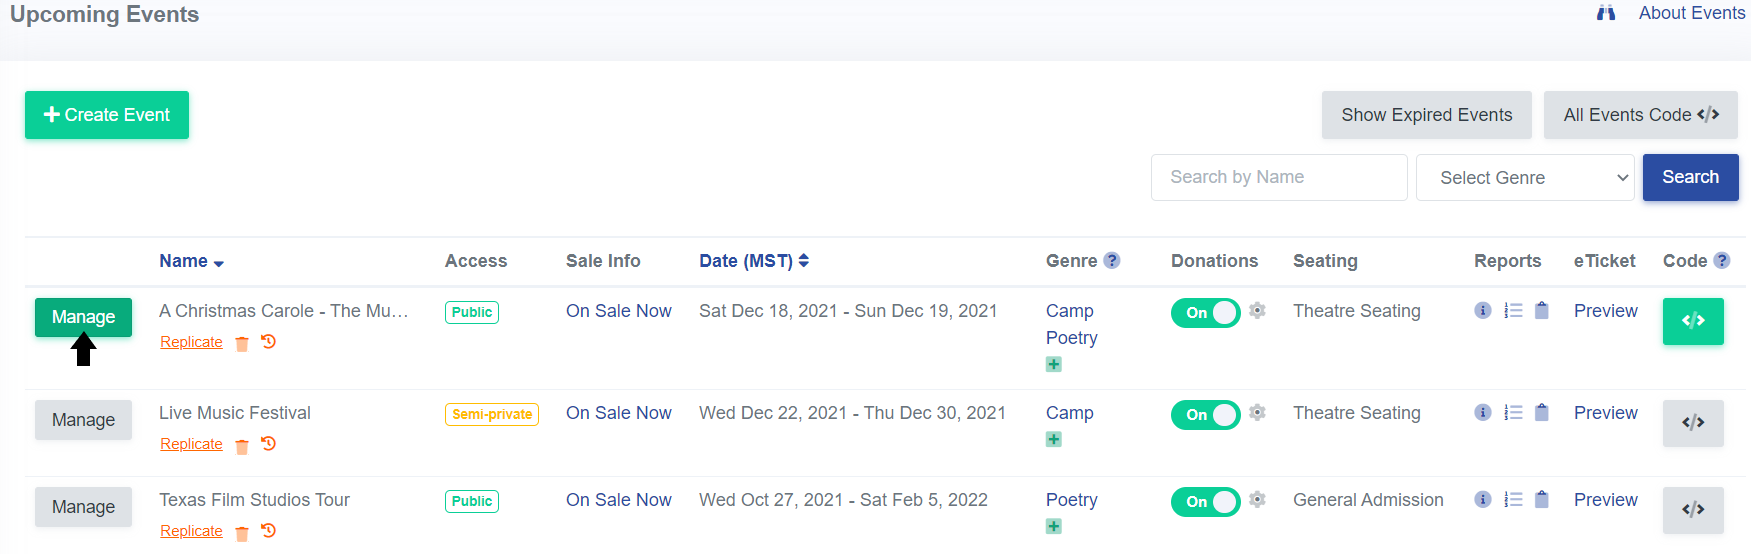
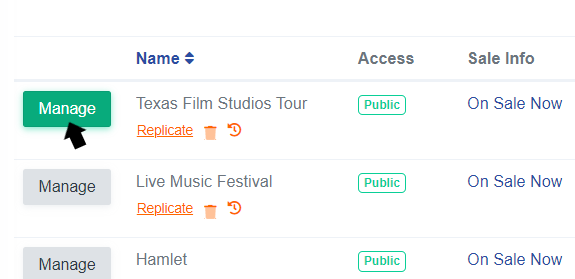
To view your active events, you just have to scroll up and down on the events page. Doing this will allow you to see each events’ public status, dates, the starting sale date, if there is a seating chart attached, quick access to your waiting list and settlement report, the optional PDF ticket sent to customers, and the embed code button. To view the event, edit, or sell tickets for the event, click the manage button, located next to the event.
To find your events easier, you can arrange them by name or date. To do this, you just need to click either the name or date titles.
If you want to access your events that have already occurred, you must click on the text “Show Expired Events”.
If you want to search for an event by name or for an expired event, you can also use the search function. Type in at least one word of your desired event name into the search box located in the top left of the page and the page will reload showing all the matching event names, both upcoming and expired. Make sure you’re not typing into the search box located at the very top of the page, which will take you to the support forum.
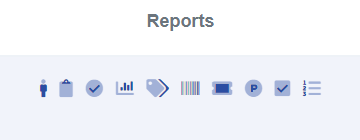
Once you've clicked the "Manage" button on you event, you'll notice that the reports column on the right offers many different options to fit your different reporting needs. This column contains all of the information and data concerning your event or performance that you could ever need, in an easy to download CSV format. We also offer a detailed how-to guide covering all of the different kinds of event sales reports.
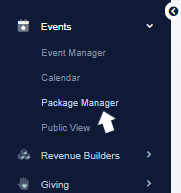
To view your packages, click the Events tab in the left-hand menu and select Package Manager.
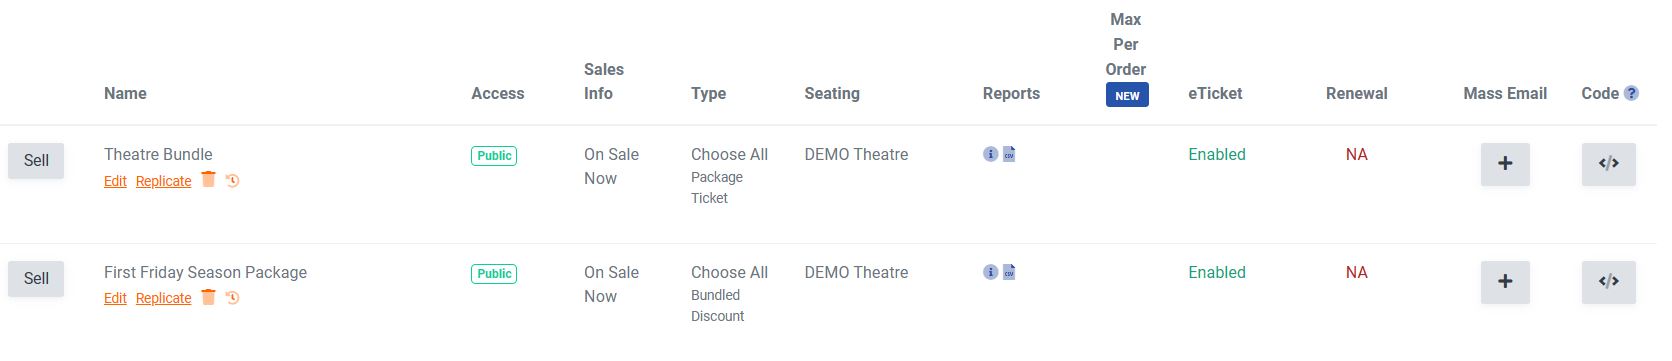
From here you can see if each of your packages are public or private, fixed, choose all, or build you own, quick access to your sales report and orders, what type of seating the package offers, and the embed code button. Here you can also see the maximum number of packages that can be sold, draft renewal emails, see if your eTicket is enabled, and send a mass email to all your package holders. Read more about mass email here.
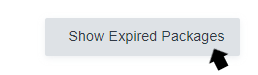
To access your expired packages, click on the text “Show Expired”. Doing this will show all expired packages, whether they are public or private.
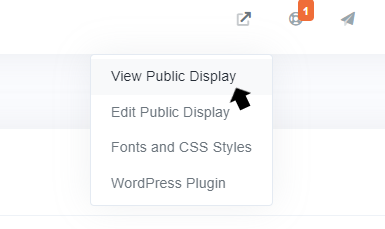
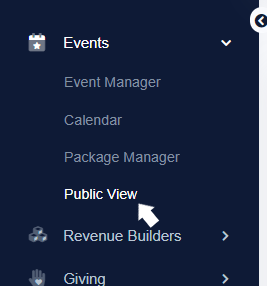
You can also see your packages in the same display customers do. There are a few ways to access your public URL. Either click on your Public Display Settings and select View Public Display or click Events in the left-hand menu and select Public View.
Once you have created an event, you can always go back and edit the dates, prices, descriptions, etc. It is here, on the Event Manager page, where those edits are made.
To edit your events, click “Manage”, to view and edit all details of the event. You can also click “Replicate” to duplicate your event and all of its settings while setting a new date. To permanently delete the event, you can click “Delete” -- as long as no tickets have been sold.
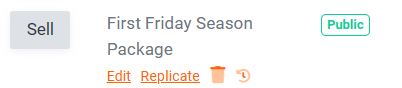
Editing packages is similar to editing events. From your Package Manager page, click “Edit” or the trash can icon for the desired package. You can also replicate your package or see any revisions to your package by clicking the clock icon.
Embed codes are definitely a feature you should take advantage of. Embed codes provide you with the necessary HTML to bring your events from ThunderTix seamlessly into your website. To access this, you need to click on either the full events code button (pictured below) or the get code button on each of your events found under the Code column on your Event and Package Manager pages.
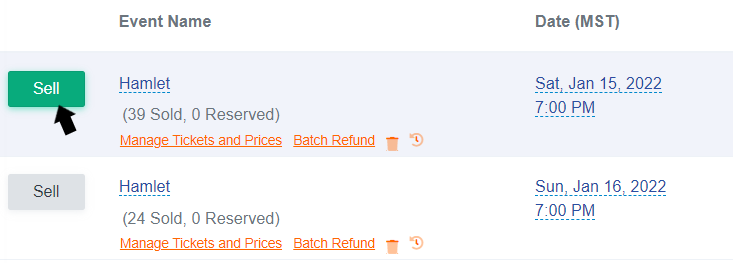
Besides just selling tickets online, you or your staff have the ability to sell tickets at the box office window (walk-ups, will-call, guest list, etc.) using the Event Manager page. This essentially makes any computer with an Internet connection a Point of Sale (PoS) machine.
To sell tickets at the box office using ThunderTix on your computer:
Upon the successful processing of a ticket sale at the box office, the option to print tickets occurs. Depending on which plan you have, there are a wide variety of printing options including integrations with a thermal printer.
In general, to print tickets after an order has been processed:
If you prefer to view your events using a calendar to sort your events, rather than seeing an alphabetical listing, you can view your events in a Calendar view. The Calendar view displays, by default, the current month’s events. The calendar view is even more helpful if you have many events each day and walk-up customers want to know what events still have tickets that day.
Long time ThunderTix customers will find it only takes a moment to adjust to the new Calendar view and it uses many of the same helpful tools familiar in things like Google Calendar and Apple iCal. But unlike Gmail and iCal, the ThunderTix Calendar View is plugged into all the real-time activity of your buyers and is always up to date with the latest ticket quantities and dollar amounts.
While managing and editing individual events is mostly performed in the original list view, the Calendar view combines at-a-glance viewing with reporting and ordering – all in a single display. The Calendar view of events is also where you can generate ticket sales reports.
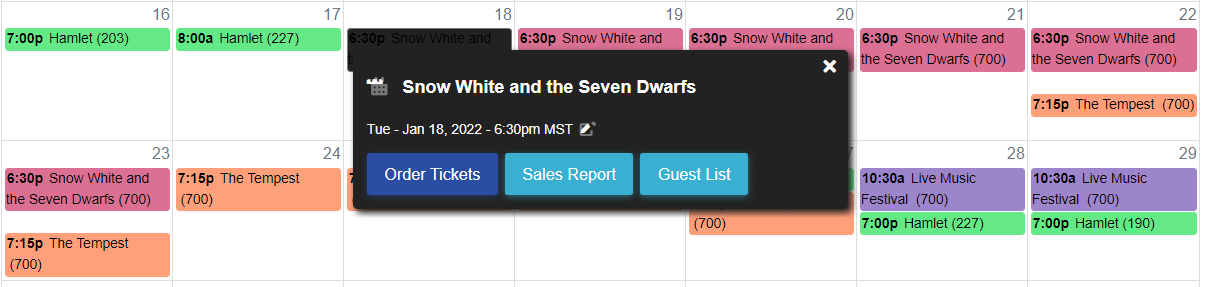
With the Calendar view, note that your events are presented in the current month and each performance is shown as its own unique “box”.
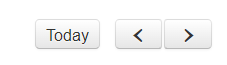
If the event you wish to manage is not set to occur in the current month, simply adjust the view using the left and right arrow navigation buttons, located in the right corner of the page. Click the left arrow to see previous months or click the right arrow to view upcoming months.
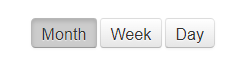
Additionally, you can use the month, week, and day buttons to change the display of information to your liking.
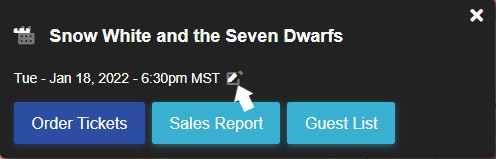
Once you are on the calendar view page, you can view and generate sales reports from here, order tickets on behalf of your customers, color-code your events, access your guest lists, as well as edit your events.
Just like from the regular events page, you have access to the order page so that you can use your computer as a PoS machine. To order tickets, view sale reports for specific events, or access your guest list, click on your desired event and click on the corresponding button.
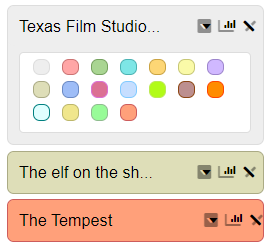
To color-code your events, simply click the down arrow on your desired event, located on the left of the page in the upcoming or expired events column. Then, click your desired color. That color will immediately become the color of that event box throughout your calendar.
Lastly, to edit your events, click on your desired event, then click on the notepad icon located under the name of the event.
Again, if you need any more assistance, be sure to visit our support forum and our other How-To guides.