Packages offer an easy way for customers to buy tickets to multiple events all at once. Having packages available for customers to purchase can save them time and money, therefore increasing your sales.
Creating packages is a fast and simple process. Following the guide on this page will result in you successfully completing a package.
NOTE: Creating, managing and editing packages assumes you are already well versed in creating events and standard ticket types for an event. If you need to find out more about creating events, visit our events guide.
To get started, head to the Events tab, located in the left-hand navigation menu to the left of the page, and click Package Manager.
Creating Packages for Reserved Seating Events
If your venue has assigned seating, you must request a seating chart from ThunderTix. You can submit a request for a seating chart build-out through your Account Settings tab. Once you have a seating chart associated with your account, you can create events with seating charts. Then, once you have events with assigned seating, you can create packages including these events.
When customers are buying these packages, they can then choose their assigned seats for all the events in the package. Thus, customers can get tickets to multiple events in one transaction. Follow the steps below to create these packages and continue reading the editing packages segment to find out how to price the package by seating sections.
Creating a Package
As you go about creating a package, you will go through these different sections shown below:
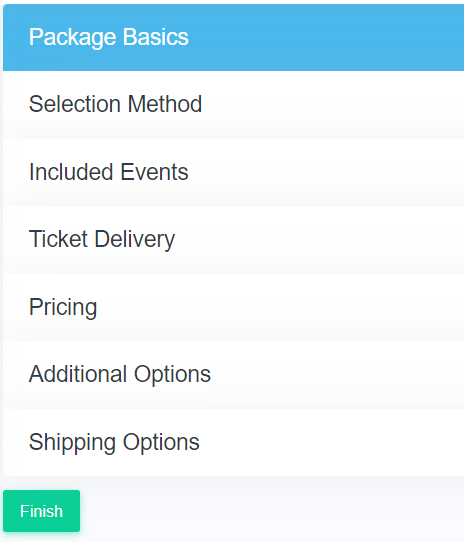
Follow the instructions under each section title below to make your Choose All package, including all options and extras. All steps that are marked with a red asterisk are required.
Package Basics
- Enter the name of the package in the first input box (for example, "2024 Season Pass" or "Winter Package")
- Enter a helpful description, in the second input box, that includes important event and package information. Typically, we suggest adding what events are included in this package.
- Click the "Choose File" button, located to the right of the package name. A new smaller window will open displaying files on your computer (this image will appear right next to the package description on the event list). Navigate to the image you wish to display, and click 'Open' to attach that file to the package.

- To continue, navigate to the next tab, Selection Method.
Selection Method
The Selection Method tab allows you to decide how patrons will select events included in the package.
Pick Any (Build Your Own)
The Pick Any, or Build Your Own, option allows your patrons to select performance dates from any of the included events. They must select at least the number of events you require for the package, but they may select more than the minimum number.
- Select the radio button for Pick Any
- Enter in the minimum number of events they must select

Pick All
The Pick All method required patrons to select from all events included in the package.
- Select the radio button for Pick All

Note: If you wish to create a package in which a patron can select the performance dates of the included events, but must select a performance date from all events included in the package, select Pick All.
Included Events
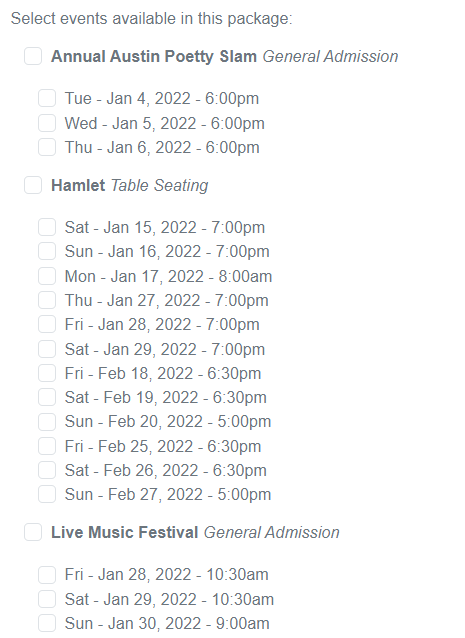
We'll load the available events to choose from with the listed performance dates underneath and the seating type to the right of the event name. Select all of the events that qualify for this package. If your full season is eight events and you want patrons to be able to pick any 5, select all eight events. The events you select will be displayed with the package for your patron to choose from when they purchase the partial season.
- If you wish to allow the patron to select a performance date from an event, click the box to the left of the event name. This event will be included in the package, allowing the patron to pick their preferred date and time.
- If you wish to pick a predetermined list of event dates and times, select the box next to the performance date and time below the event name.
If you see that a performance date is not available to include in the package, please double check the events ticket settings to ensure it is not a PWYC ticket, or that it does not have a capacity set on the ticket type. Ticket capacities are only valid on General Admission performances.

Ticket Delivery

- As a default, the Subscription method of ticket delivery is selected. This option will deliver the tickets immediately after the order is placed.
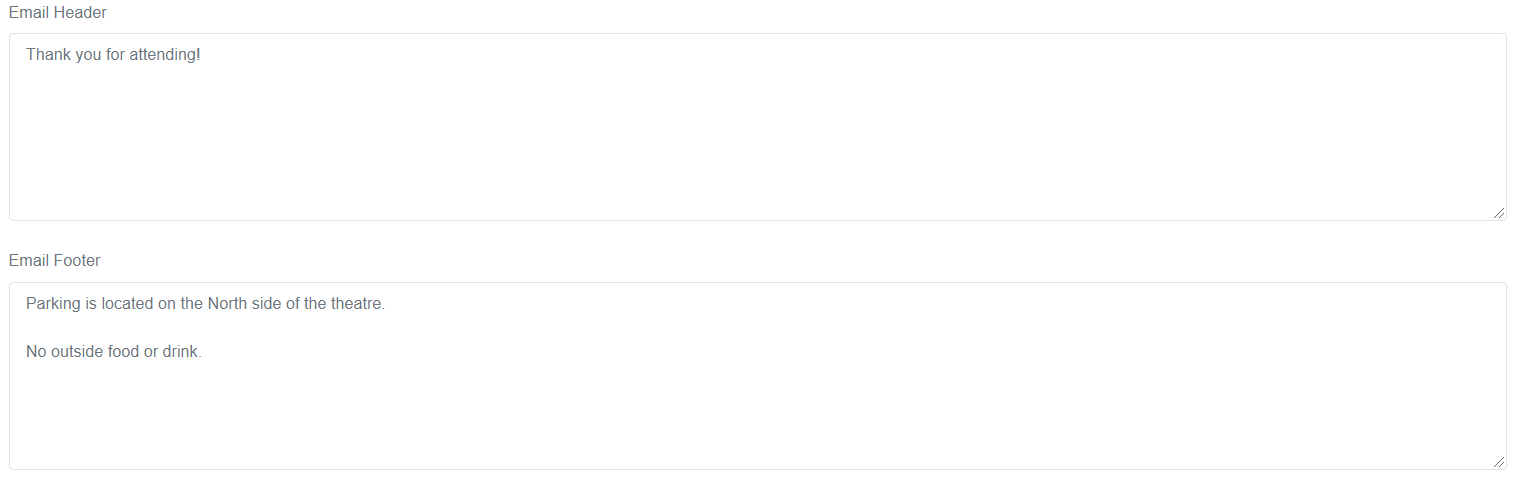
- Customize the top and bottom of your package email receipt. The wording entered here will replace the wording used (if any) on each individual event.
Pricing
There are two ways you can price your package, either with a package discount, or a package ticket.
Bundled Discount
-
- Select Bundled Discount if you wish to apply a discount to the event tickets included in the package
- Enter either a set dollar amount or percentage to be taken off each ticket from the events
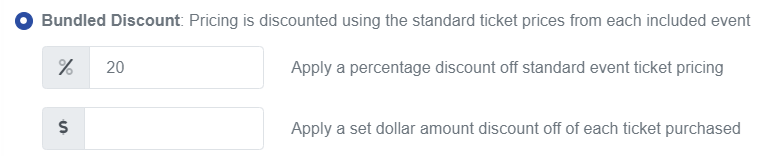
When selecting Bundled Discount, the reported revenue from this package will be tracked in the individual event reports
Package Ticket
- Select Package Ticket if you wish to create ticket types for your package.

- Enter in the name, price, and a brief description of your ticket type.
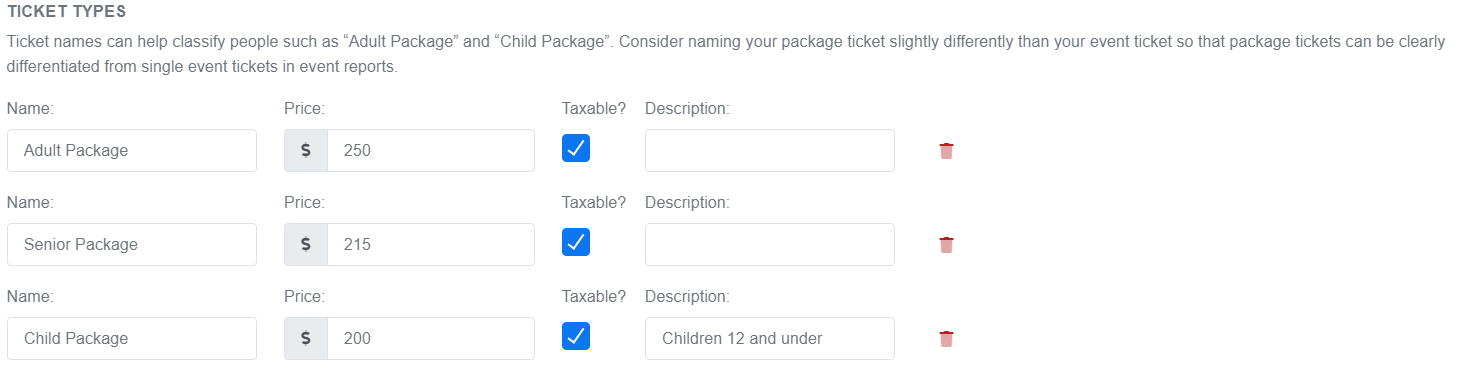
- Click the checkbox for Taxable? if you want the ticket type to be taxed
- Enter a description for the package ticket
- Click Add Another Ticket to create another ticket type.
When selecting Package Ticket, the reported revenue from this package will be tracked for the package. To view all orders for packages containing a package ticket, simply click View Orders below the package name from your Package Manager page.
Additional Options
-
- An expiration date for the package is an optional feature, but suggested. Often used to set the package to expire just before the date of the first event
- If you want this package to be visible to anyone, click the first checkbox next to the associated text.
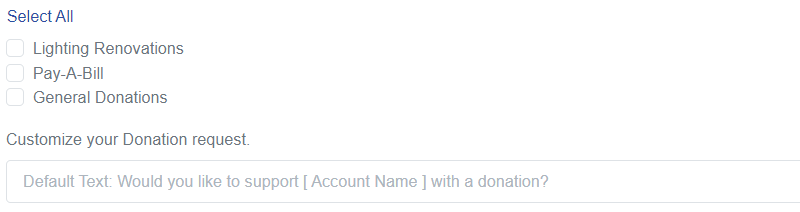
- If you would like to be able to receive donations from customers when they purchase this package, switch the toggle for "Would you like to accept donations with this package?
- Select from the list of campaigns you wish to be available to donate to during the package purchase and customize your donation text.
- Select a survey from the drop-down menu to appear during the ticket selection process.
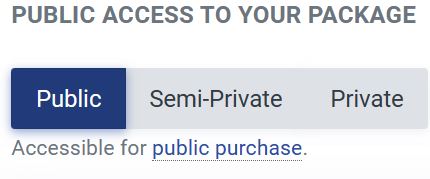
- If you want this package to be visible to anyone, select Public from this menu. This will make your package accessible for public purchase. Semi Private will make your package accessible to a specified audience using a unique link (URL) as a single package within your own website. Private will make your package accessible only for administrative use and is not visible to the public.
Shipping and Fees
Add optional fees. Package fees "overwrite" any fees being individually charged on the events selected for this package.
Add the desired fees below:
- Fees added "Per package" will be charged once per package ordered (not per included event).
- Fees added "Per order" are charged once on the entire transaction regardless of how many packages are purchased.
Fees require a name, a dollar amount or percentage, and a way the fee should be charged.
To apply the fees from the included events in your package, switch the toggle to "Apply fees from the included events."

Create shipping options to allow patrons to print their tickets at home, or pick them up at the box office. Make sure that the eTicket is disabled if it is not a print at home or mobile ticket.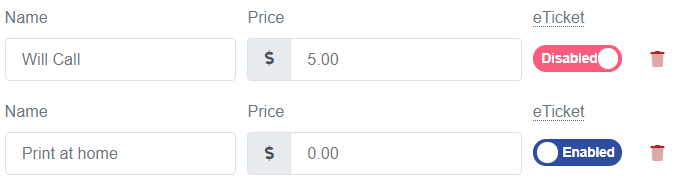
Editing Packages
Editing or deleting packages is made simple on our website.
To edit any of the features of your packages, you must be on the Package Manager page. Then, you must click on the “Edit” text which appears under each package name in orange.

Once you’ve clicked on edit, you will be taken to the Package Basics tab. On this page, you can edit package details or click on one of the tabs to edit the other package settings.
Managing ticket prices by section
- If you have a seating chart and want to set prices for the packages based on sections, then you must click on the pricing tab.
- Click on the "Manage Prices by Section" button.
- Click Manage Price by Section
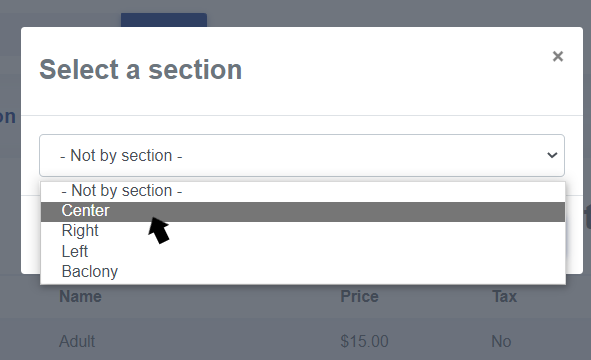
2. Your sections will pop up and you must go through each section to change its pricing.
If you do make any changes, make sure to click on the “Finish” button, located at the bottom of the page.
Deleting Packages
- To delete a package, head to the Package Manager page
- Click the orange trash can under the package name
- The package will be deleted if there have not been any packages sold
- If the package does have orders, click Edit on the package, and set the expiration date under the Additional Options tab to a date in the past