
The customer information page lists all the customers that have made a purchase with your theatre or organization or that were imported into your account when you first started with ThunderTix. The customer information page has several uses such as searching for a customer or editing customer details. A few examples of more specific uses of this page include telephone support calls, using past purchases to award customers with extras, and searching customer data for the purposes of marketing. Accomplishing the tasks mentioned above are made simply with our website, especially if you follow this guide.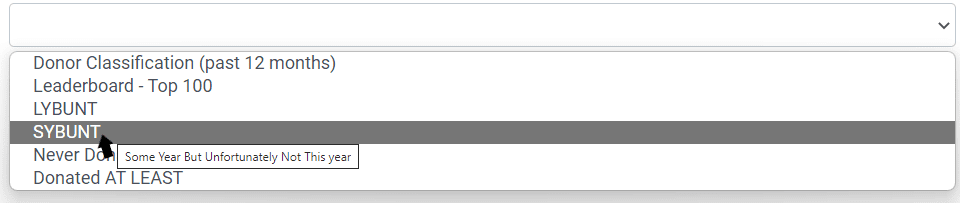
To get started, head to your Patron Database tab in the left-hand navigation menu and select Search and Mass Email.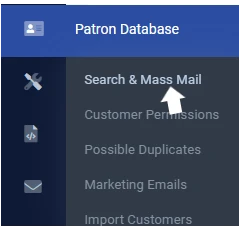
Once you are on the Customers page, there are seven primary tasks that you can perform. You can:
- Search for Customers
- Mass email customers
- View Customer Information
- Edit Customer Information
- Export Customer Information
- Create a New Customer
- Import Customers
Customer Search
The customer search tool is extremely useful for numerous reasons. This feature can help you with analytics (for example, you can discover how many people from a certain zip code ordered tickets). This feature will also allow you to specifically search for patrons.
Note: By default, the Customer Information page displays a limited number of customers in a paginated list. You may configure the results to include more, or less, based on the search criteria you use.
Searching for a customer is completed in this area shown in the picture below.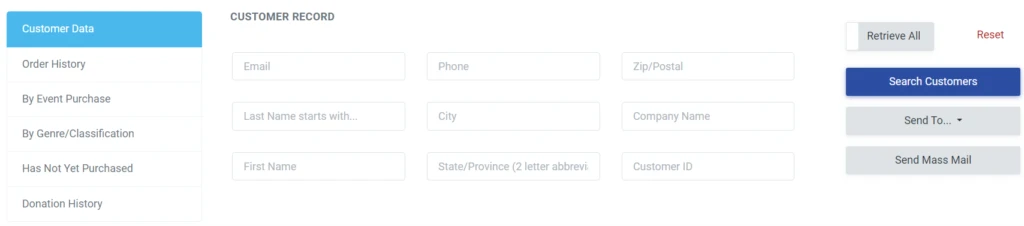
In this area, you can search orders by someone’s first or last name, zip code, email, phone number, donation history, purchase history, and more. On the left, you can select the category you want to search by and then select/enter in the specific criteria to search by.
Note: If you want your results to only list customers who want to receive emails, make sure you click the button labeled “Retrieve All” so that it says, “Opt-in Only”.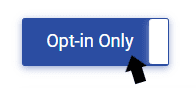
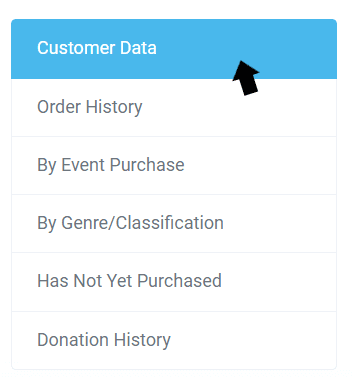
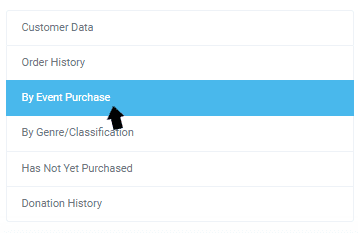
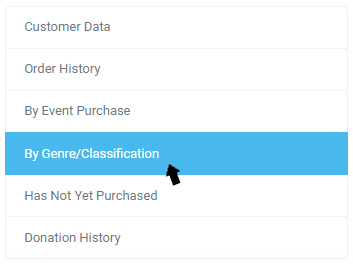
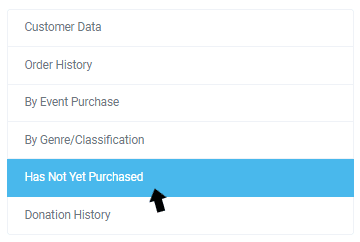
The first step in customer searching is to select which category you want to search by. Your search options are customer data (like name, phone number, address, etc.), order history, specific event purchases, genre/classification, have not yet purchased, and donation history.
Once you select what type you want to search by, new input boxes will appear for you to complete. Follow all of the instructions below to search by each different type.
Note: To reset your search and see all your customers again, click the reset button in the top right.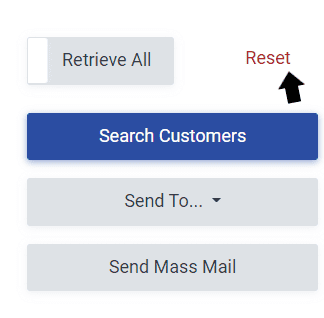
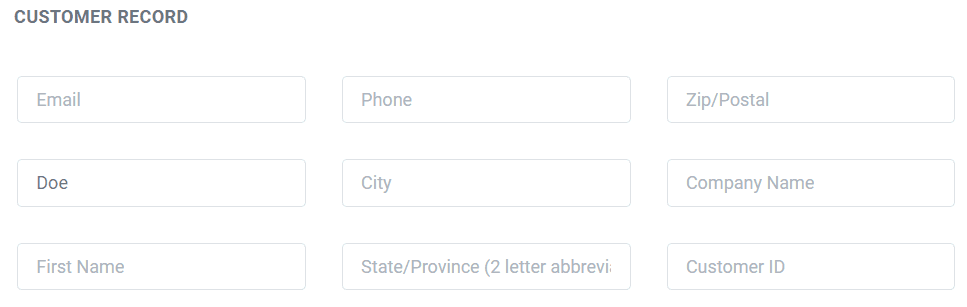
Searching by Customer Record
Searching by customer record means that you will be finding your desired customer(s) by entering in a customer’s first name, last name, email address, zip code, city, or company name. What you enter depends on if you want to perform a strict or broad search.
Strict Search
You will perform a strict search when you are trying to find a single customer in your account. A strict search is helpful if you have staff performing customer service by telephone. Time can be saved by looking up a caller’s last name or phone number. Finding a single customer is easy if you already know their first and last name or email address.
To accomplish this, you only need to:
- Select Customer Data as your search type.
- Click on any of the input boxes for email, name, etc. and enter your desired information.
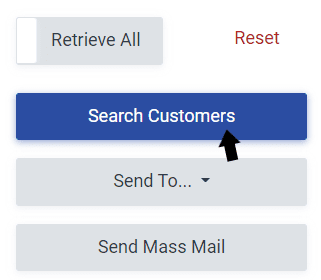
- Click the blue Search button located on the right. The page will reload displaying the customers that match your entered criteria
.
Using the last name will return a shortlist of results, and depending on the uniqueness of the name (“Smith”) it may present more than one customer. Should the search query result in more than one person with the last name, there are several other columns of information that will allow you to find the right one (as shown in the picture below).
If your search returns incomplete or incorrect results, try using another search type like an email address or the city that the customer lives in. If you use less specific information, the result will be a longer list of customers (See “Broad Search” below).
If you have staff performing customer service by telephone, they may find the basic search helpful while speaking to your ticket buyers. Time can be saved by looking up the caller’s last names or phone numbers, viewing the information, and making notes or updating contact information.
Broad Search
Utilizing the search tool for analytics is an easy process. You just have to type in broad information like a zip code, city, or state into the search input box. Using the zip code, or city as a search term can help you gauge the value of your advertising efforts in a specific market.
To do a broad search, you only need to:
- Select Customer Data as your search type.
- Click on any of the input boxes for zip code, state, etc. and enter your desired information.
- Click the blue Search button located on the left. The page will reload displaying the customers that match your entered criteria.
Searching by Order History
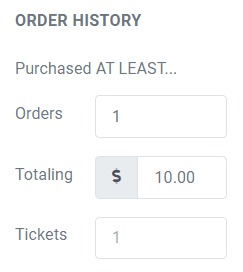
When you search by order history you have many options. You can search for customers who have purchased at least a specified amount of orders or tickets in a certain time period. You can also search for customers who have spent at least a certain amount of money.
Alternatively, you can specify all of these criteria and search for customers who have spent at least a specified amount and purchased at least a certain amount of tickets and orders in a certain time period. For example, you can find all the customers that have purchased at least 5 orders and tickets, totaling $50.00.
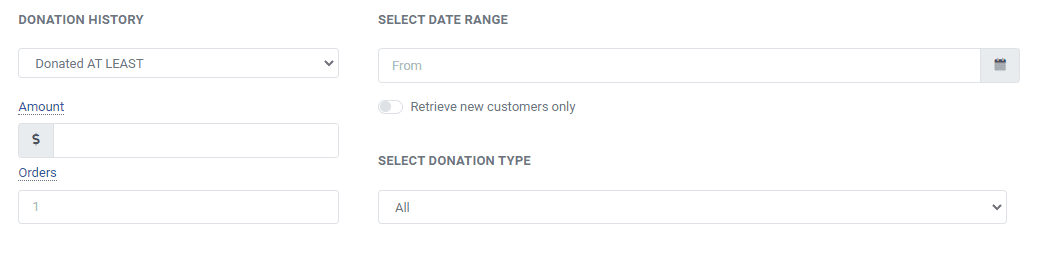
To search by Order History, start by:
- Select Order History as your search type.

- Complete your desired input fields (you can fill in one or all of these).
- Click on the first input box located under the text “Select Date Range”. A calendar drop-down menu will appear.
- Select the starting date and time of your desired date range.
- Click on the second input box located under the text “Select Date Range”.
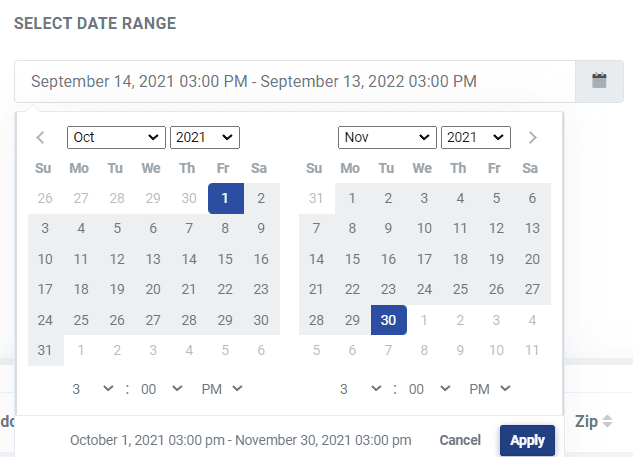
- Click the blue Search Customers button.
Searching by Event Purchase
When you search by event purchase, you will find customers who have previously bought tickets to a specific event but have not yet bought tickets to a different certain event. Searching this way is very useful. You can find customers who bought tickets to a dance show in the past, but let’s say they haven’t yet bought tickets to your new dance show, you can contact them to advertise this show. Additionally, you can search by when they attended the event.
To search this way, you need to:
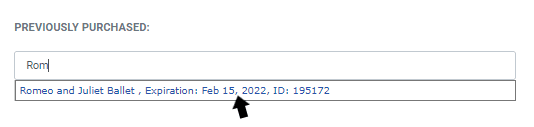
- Select Search by Event Purchase as your search type.
- Start Typing in the name of the event that you want to search by in the input box, located under the text “Previously Purchased”. A drop-down menu will appear with your events, click on your desired event. Your search will show customers who have purchased tickets to this event in the past.
- In the next input box, located under the text “Have not yet purchased”, start typing in the name of the event that you want to search by. A drop-down menu will appear with your events, click on your desired event. Your search will show customers who have not yet purchased tickets to this event.
- Click the blue search button.
Searching by Genre/Classification
Selecting this search type allows you to search either by an event genre or by a customer classification.
When you search for customers by genre, you can find customers who share similar past purchases of events in specific genres (like musicals, dance, concerts, etc.). In order to search by genre, your events must already have genres linked to them.
If you don’t have any genres, you need to:
- Click on the Events tab in the left-hand navigation menu and select Event Manager.
- Under the Genre column, click the green plus sign to add or remove genres for the event
- To add an existing genre, click the toggle switch from Off to On
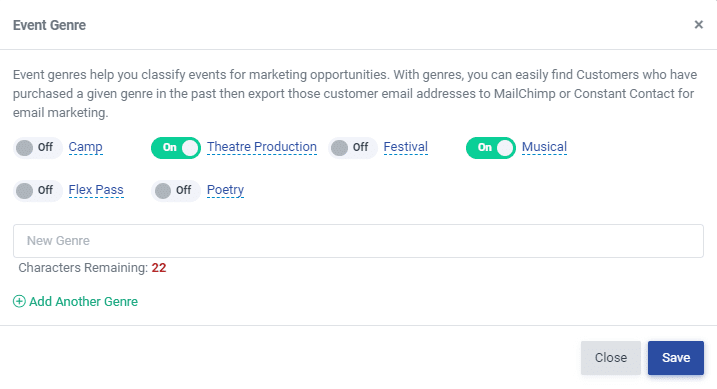
- To add a new genre, enter the Genre into the text field
- Click the blue Save button at the bottom of the pop-up.
You can also find customers who share similar classifications. Classifications are essentially genres for people. You can set key phrases for different customers to distinguish them. You can classify customers by anything you want, for example, male or female. In order to search for customers by classification, you must have customers linked with classifications. To set classifications for your customers, add current classifications or create new ones from the Customer Classifications are on the patron record.
Once you have set up event genres and classified your customers, you can search by genre or classification. To do this, you need to:
- Select Genre/Classification as your search type.
- Click the checkboxes next to the genres or classifications you want to find customers by. Customers that have purchased events of these genres or have these classifications linked to them will result in the search.
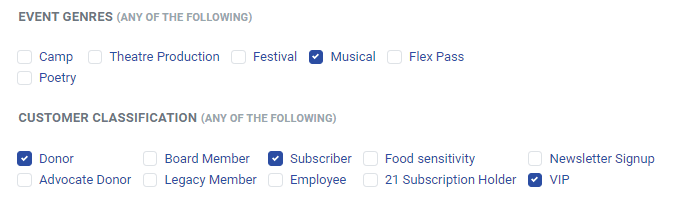
- Click the blue search button.
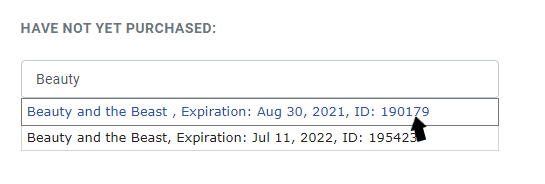
Searching by Has Not Yet Purchased
Searching by what a customer has not yet purchased is almost identical to searching by event purchase, except you’re not searching by just events. You will find customers who have bought tickets to events of certain genres but have not yet bought tickets to a specific event. Searching this way is very useful just like searching by event purchase. For example, you can find customers who are interested in musicals because they’ve bought tickets to musicals in the past, but let’s say they haven’t yet bought tickets to your new musical event, you can contact them to advertise this new musical.
Note: If you have not linked any of your events with genres, you must do that in order to search by marketing by genre, so be sure to follow the steps mentioned above.
To search this way, you must:
- Select Has Not Yet Purchased as your search type.
- Start Typing in the name of the event that you want to search by in the input box, located under the text “Have not yet purchased”. A drop-down menu will appear with your events, click on your desired event. Your search will show customers who have not yet purchased tickets to this event.
- Click the checkboxes next to the genres you want to search by. This search will show customers who have bought tickets to events of these genres in the past.
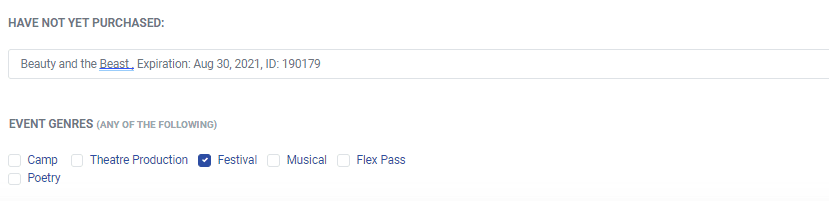
- Click the blue search button.
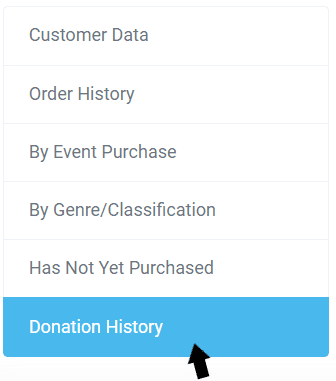
Searching by Donation History
To search by donation history you must:
- Select donation history as your search type.
- Decide what donation criteria you want to search by (shown in the picture below).
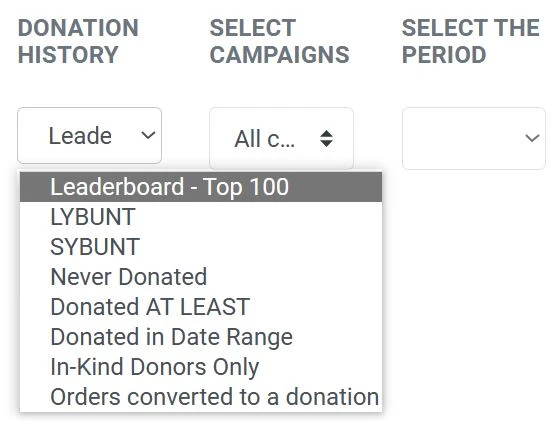
- Donor Classification will allow you to search your patrons by specific donor classifications you have created for your fundraising campaigns
- Leaderboard Top 100 will return your top 100 donating patorns
- LYBUNT stands for “Last Year But Unfortunately Not This Year”. Select this if you want to find customers that donated last year, but haven’t this year.
- SYBUNT stands for “Some Year But Unfortunately Not This Year”. Select this if you want to find customers that donated in the past, but haven’t this year.
- Select Never Donated if you want to find customers that have never donated.
- Select Donated AT LEAST if you want to find customers that have donated at least a certain amount or have donated on at least a certain amount of orders.
- Select Donated in Date Range if you want to find customers that have donated within a specific date range.
- Select In-Kind Donors only if you want to find customers that have donated non monetary items such as gift cards, equipment, services, etc.
- Select Orders converted to a donation if you want to find customers that have converted their orders into a donation.
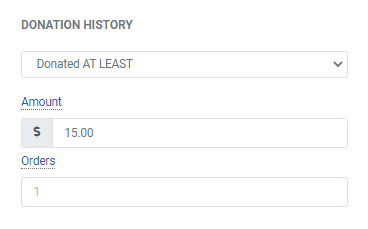
- Once you have selected this, new fields will appear that you need to complete (as shown in the picture below).
- First, you must decide if you want to find customers who have donated at least a specified amount and/or who have donated on at least a certain amount of orders. (For example, if you typed in $15.00 into the amount box and 1 into the order box, your search results will return all customers who have donated at least $15.00 on at least one order.)
- Complete your desired input fields.
- Select the date range that you want to search within. This search will show customers who donated within this date range.

- Click the blue search customers button.
Viewing Customer Information
Once you have searched for the customer or customers you want to find, you can view those customers’ order history, e-gift card history, reservation history, donation history, and details like their address or phone number. To see this information, all you need to do is click on the associated order ID
You will then be taken to a page where all this information will be displayed. There will be headers for “Details”, “Customer Classifications”, “Event Genres”, “Purchasing Data”, “Customer Notes”, “Reservation History”, “eGift Card History”, and “Order History”. Under each header, you will find the corresponding information. First and last name, home address, email address, and telephone number fields will display what your customer entered during their ticket purchase. If any of this information is wrong, continue on to the next section, which will tell you all about how to change or edit customer information.
Editing Customer Information
Keeping your customer’s information up to date is very important for venue owners. Customers’ information can be used for several marketing purposes. Many venue owners make a routine of auditing their customer database for the purpose of sending out marketing emails.
Note: You may edit an individual customer’s information as many times as needed, and the edits override what the customer entered.
Along with information like the customer’s address and phone number, each customer information page offers a place to put notes for any important or useful information you might need on that customer. You could put the last time they called the box office or if they are eligible for a perk or special treatment based on the summary totals displayed like past purchases, total donations, etc. There is also a place to add classifications to customers. Review the section above about searching by genre/classification for more information about adding customer classifications.
Editing customer information is simple on the ThunderTix website. It is similar to editing contacts in your email contact list. From the Patron Database page, you only need to:
- Click on the field you wish to edit to open up the editable field. To update the customer name, click Update Name below the patron name. Some fields are input boxes and others are drop-down menus.
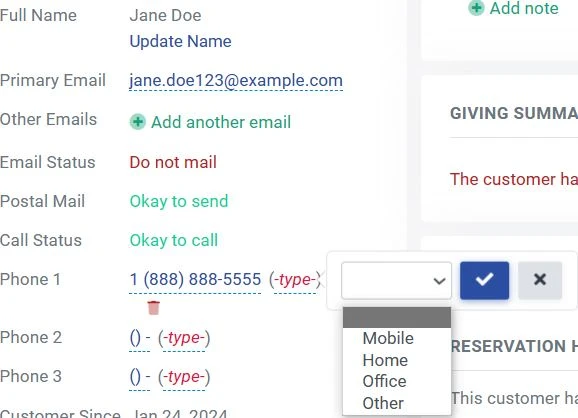
- Type in your desired information or select your desired choice if the field has a drop-down menu.
- Some fields will update automatically, others will have blue checkmarks to save the changes.

Note: To change the billing or shipping addresses, you can click to copy the address from either tab. 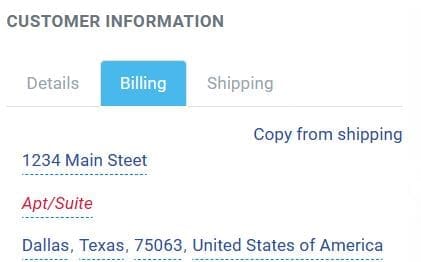
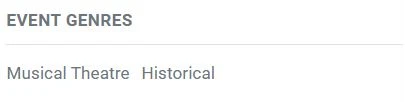
To add a classification to a customer, select Create Another Classification under the Customer Classifications area. You can also associate this customer with a classification you’ve already made by selecting your desired classification checkbox. Underneath Customer Classifications, there will be an area for you to see which Event Genres this customer has purchased. This can help with targeted emails. Additionally, you can add any notes for this customer by clicking, “+ add a note” in the customer notes section, to the right of the Customer Information area.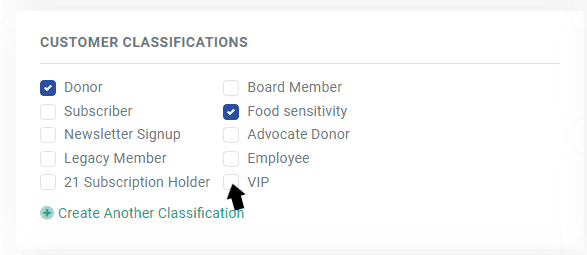

Exporting Customer Information
Depending on what you want, you can export just one customer’s information, multiple customers’ information, or all. Exporting customer information makes that information available for you to save and access on your computer for future use.
You can also export your customer information into Mailchimp or Constant Contact for easy access. To export your customers to Mailchimp or Constant Contact, click on the Mailchimp or Constant Contact, select the Send To drop-down menu in your Search and Mass Email tab of the Patron Database, and select the appropriate option.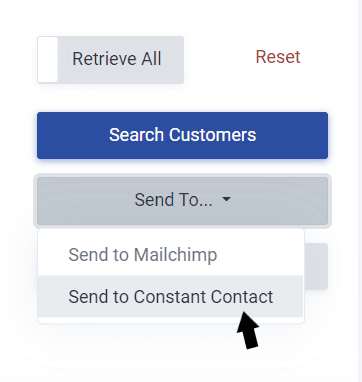
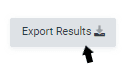
Many venues need to access and save all or some customer information in a CSV (comma-separated values) file for record-keeping and accounting purposes. Exporting customer information as a CSV file is commonly done for use with your accounting or spreadsheet sheet software like Microsoft Excel. Clicking “Export Results” generates a local CSV file saved to your computer’s hard drive, which can then be imported or opened in your desired software.
Note: If you are exporting all your customers, make sure you have space for a large file on your computer. Also, please be patient, it may take a moment to create a file of that size!
In order to export your customer information, you must:
- Search for the customer or customers that you want to export (review the section above on customer searching). If you’re wanting to export all of your customers’ information, then skip this step.
- Click the export button, located in the top right. You will be taken to the downloads page. Then, a pop-up will tell you your download is ready.
- Click the “Click here to download” text.
- Make sure that you save the file to your desired location on your computer.
Note: By default, the file to be saved uses a generic filename, and it is suggested you type a unique filename as to not overwrite one of your existing files.
Creating a New Customer
The primary way in which new customers are added to your account is when they buy tickets to your events. Whenever customers purchase a ticket, they are automatically added to your customer list in ThunderTix. But you can also manually add a new customer, without any associated transactions. Creating a new customer is useful for the purposes of future accounting tasks, customer support or to preemptively create a record knowing a transaction of importance is expected at a later date.
Note: After creating a new customer and including an email address, should that customer buy a ticket in the future using the same email address, the database will update their purchase history accordingly.
To create a new customer, you need to:
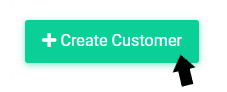
- Click the text “+Create Customer”, located near the top of the page. You will be taken to a page
where you can enter in all the customer information manually.
- Click on any field displayed that you want to complete. Some fields are input boxes and others are drop-down menus. A first and last name are the only required fields.
- Type in your desired information or select your desired choice if the field has a drop-down menu.
- Click the checkboxes to include them in mailing lists or if they would prefer to not be called.
- Click the blue create button, located at the bottom of the page.
Note: Don’t forget you can add classifications to customers under the text “Classifications” and add any additional notes about that customer under the text “Customer Notes”!
Importing Customers
If you already have a list of customers and you want to import them into the ThunderTix website, head to the Patron Database, and select Import Customers.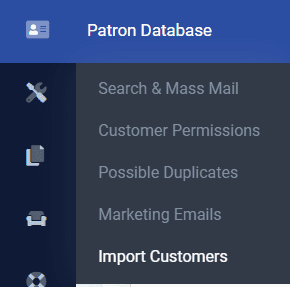
Download the Customer Import template, add your patron database data to the template, and submit the file in a support ticket requesting the import of data.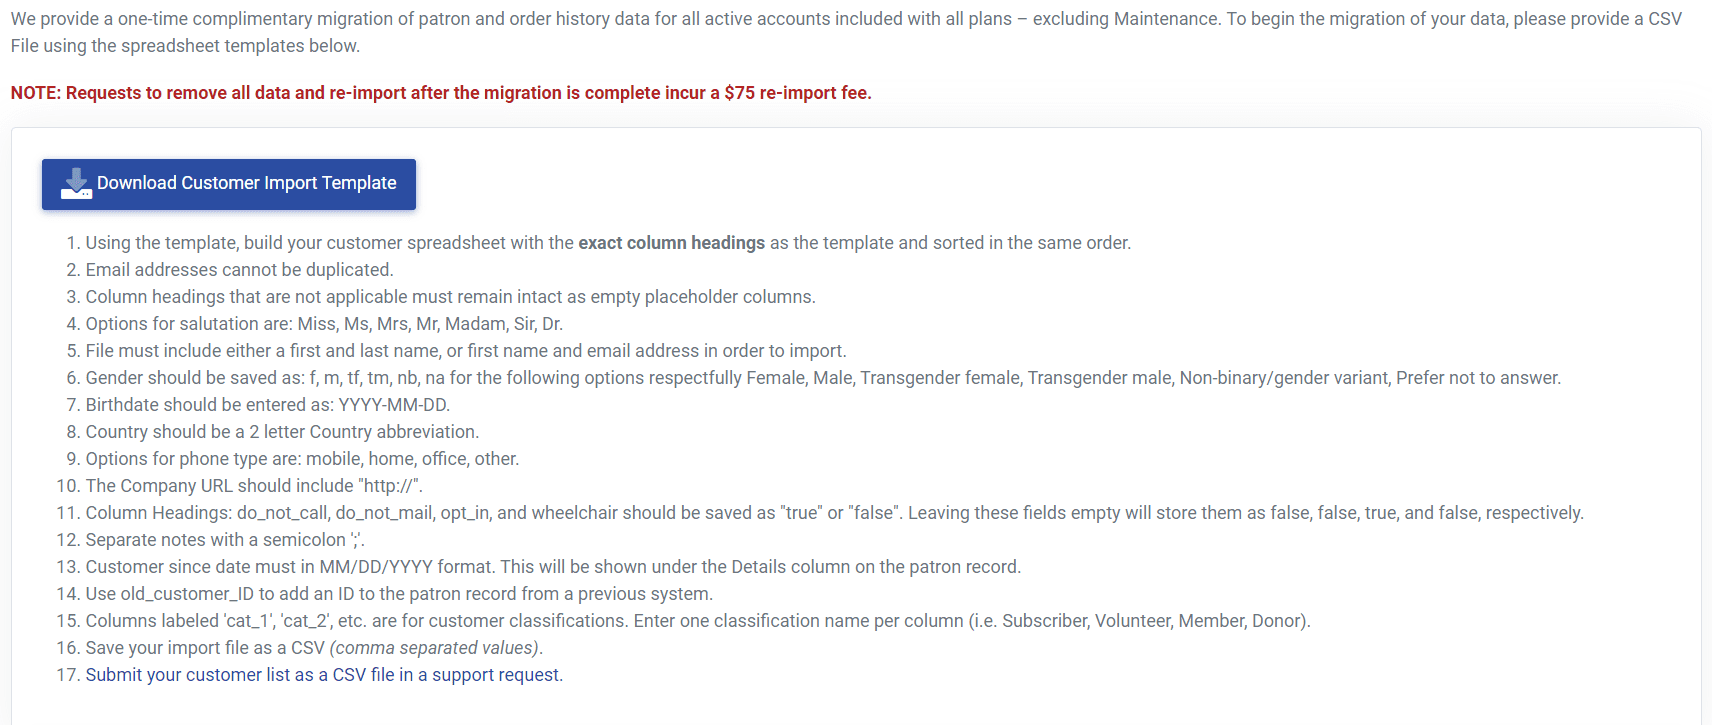
You can download the Customer Import CSV Template here in advance to start preparing your data for import.