
The confirmation email page is important for all venues and organizations. It is on this page, where you get to decide the layout of the confirmation email sent out to all your customers once they have made a purchase. You are able to create what the email looks like, but all the specifics (like event date, event name, customer’s name, etc.) will be inputted in their designated spots later.
You will serve the needs of the recipient by making the information in the custom email clear, polite, and robust. The email represents the last step in customer service and brings the purchase process to an end. The custom email is also a lucrative opportunity to market upcoming events as well as encourage the ticket buyer to share their excitement with their friends and family – facilitating additional ticket sales. This email will leave an impression on your customers. It could also lead customers to buy more tickets to other events or them following you on Twitter.
The ThunderTix custom email template allows you to customize your email template for beautifully formatted confirmation emails that closely match the look and feel of your business.
Sending event tickets via custom email can be used with or without Print-at-Home ticket attachments. The money-saving Print-at-Home feature adds a PDF attachment to the email receipt. In addition to providing additional opportunities for advertising, your event attendees print their tickets using their own printer, lowering your costs by reducing, if not eliminating, the need for you to pay for expensive paper tickets.
To get started customizing, you must first be on the confirmation email page. To do this, head to the Templates tab on the left and select Confirmation email.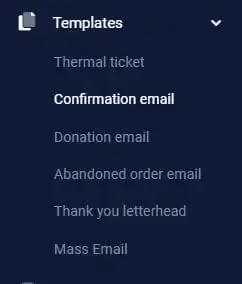
Previewing The Email
Once you are on the Email page, you will be shown something like this below.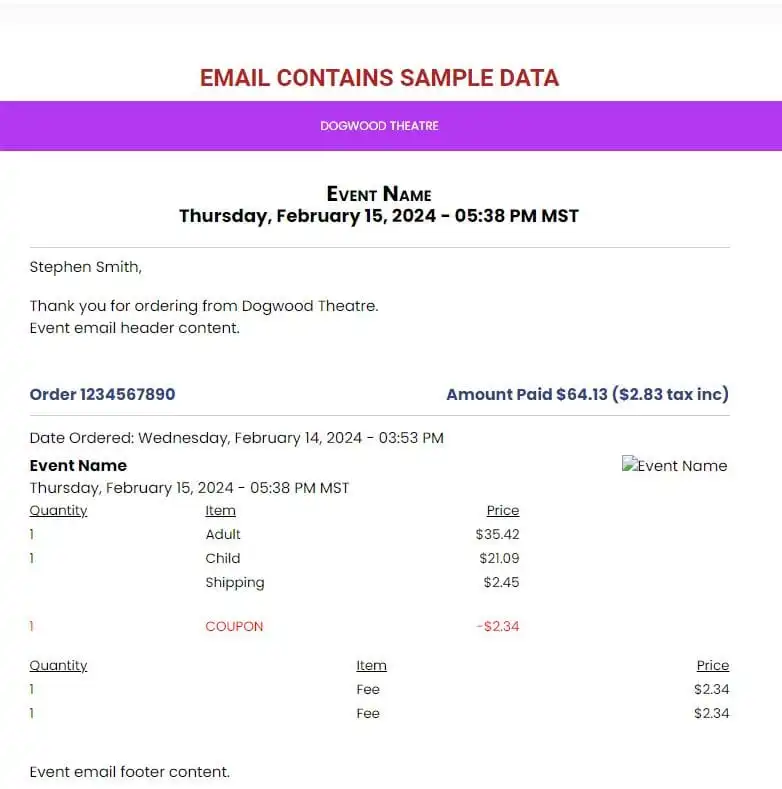
This is a preview of the email that will be sent out to customers. This displays sample data, the real email sent out to customers will have the specific event date and other details specific to that customer’s order. You can scroll up and down to see the full example email.
As shown, the preview is an accurate representation of what your customer will see in their email program that supports HTML “rich formatting“. It is important to note that there can be great differences in how email programs render and display custom email. The feature is designed for the most widely used email programs (Example: Microsoft Outlook, Apple Mail, and web-only email programs like Gmail), but not every possible email program has been accounted for. Custom emails may render in a less than than optimal way in obscure, seldom used email programs like AOL and Hotmail. As a fail-safe, every ThunderTix custom email confirmation has the option for the recipient to view it as plain text.
If you are unsatisfied with any component of this preview email, then follow the steps below to customize the email to your liking.
How to Create a New Custom Email
- Click the “Edit Email Template” button located in the left corner of the page. You will then be taken to the email edit page as shown below.
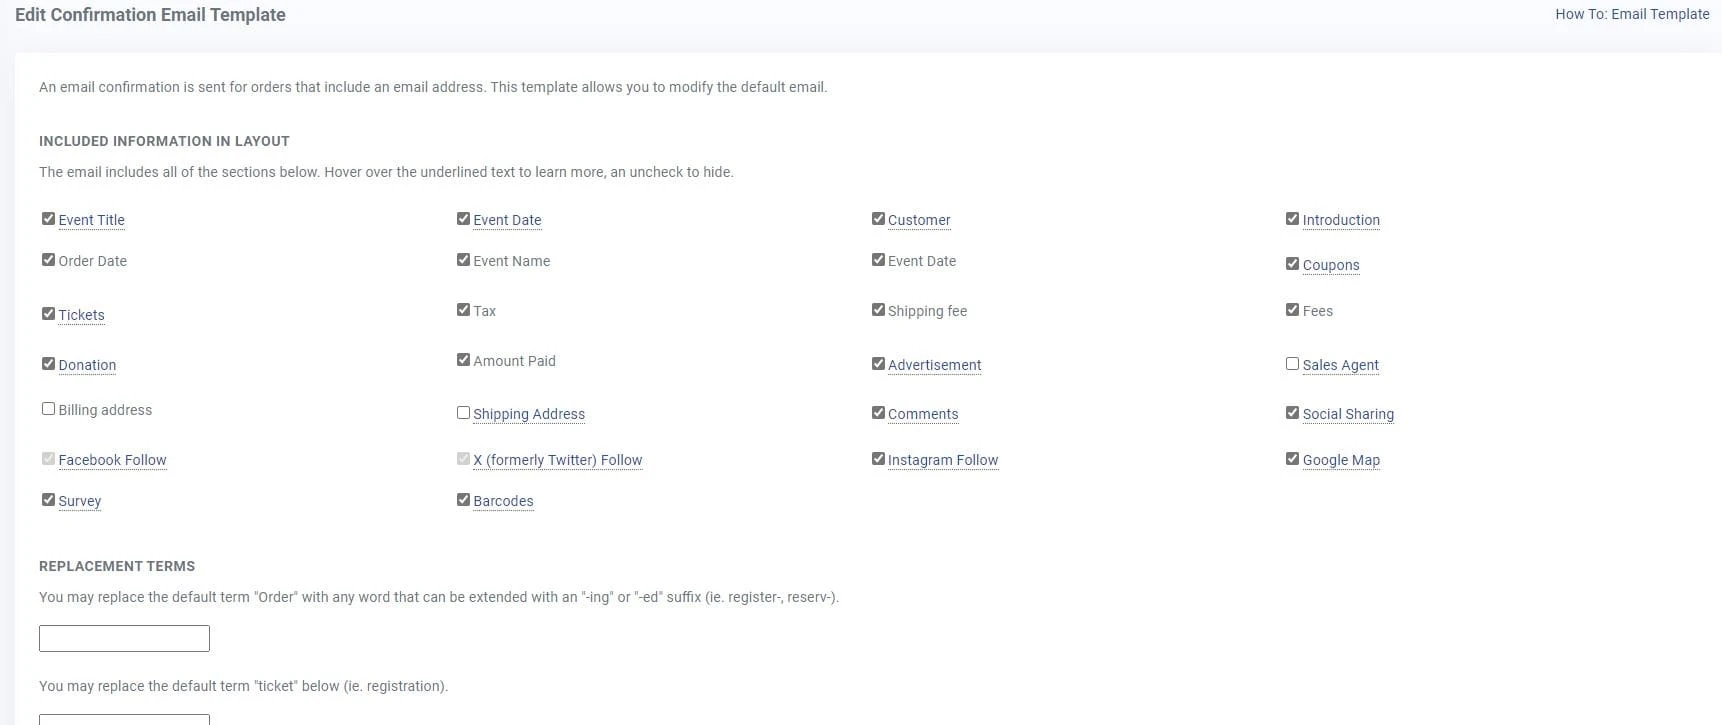
- Review over the list of components listed under the “Included Information in Layout” text. Hover your cursor over each component to see what each one means. You may also read below these instructions to find out more information about each component.
- Check the components you want to show in the email. Uncheck the ones you want to be excluded from the email.
- If you want to replace the word “order” in the email (you may want to do this if customers registered or reserved their spot at an event),
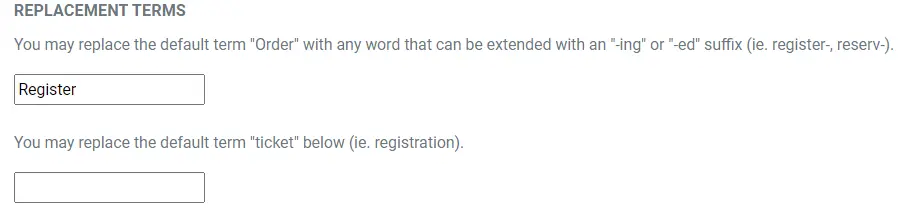
- Enter your desired replacement word in the first input box, located under the text “Replacement Terms”. Make sure this word can have “ing” or “ed” added to the end. (People usually replace it with words like “register” or “reserv”.)
- Enter your desired replacement word in the first input box, located under the text “Replacement Terms”. Make sure this word can have “ing” or “ed” added to the end. (People usually replace it with words like “register” or “reserv”.)
- If you want to replace the word “ticket” (you would want to do this if customers bought a registration or reservation and not a ticket for an event),
- Enter your desired replacement word in the second input box, located under the text “Replacement Terms”. (Most commonly, people replace it with “registration” or “reservation”.)
- If you would prefer something different from the font shown on the preview email, you must,
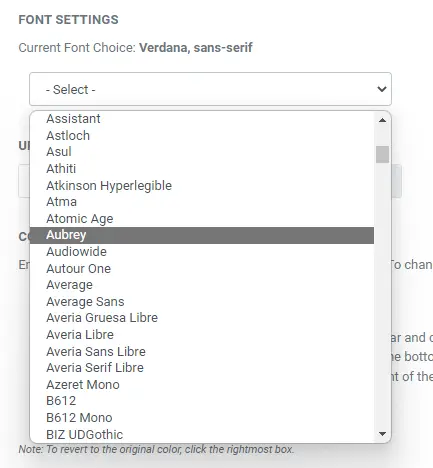
- Click on the drop-down box, located under the “Font Settings” text.
- Click on your desired font choice.
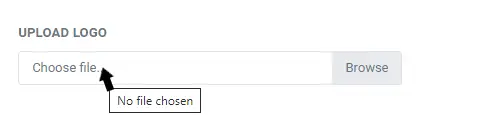
- To upload your logo to display on the email,
- Click the “Browse” button. Your computer will open a smaller window displaying files on your computer.
- Navigate to your logo (it should be a JPEG file).
- Click the file name.
- Click the “Open” button.
- Click the “Browse” button. Your computer will open a smaller window displaying files on your computer.
- If you would like to change the colored bar that appears at the top and bottom of the email,
- Click the input box, located in the “Color Selector” section. The box will have a random assortment of letters and numbers, these represent a color. A new smaller black box will appear underneath this input box.
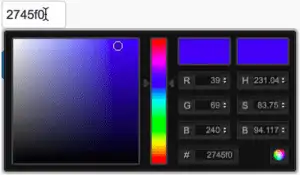
- Slide the arrows on either side of the narrow vertical bar and click and drag your cursor in the large box on the left to select your desired color.
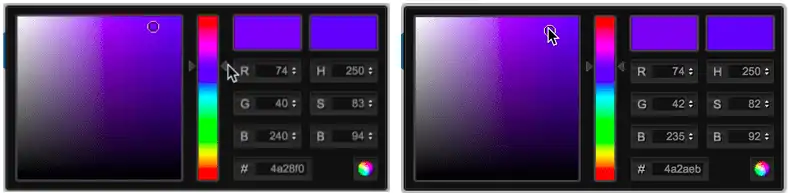
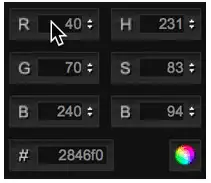
- Alternatively, if you know the numeric RGB and HSB (Red, Green, Blue, Hue, Saturation, and Brightness) values of your desired color, enter those into their corresponding boxes.
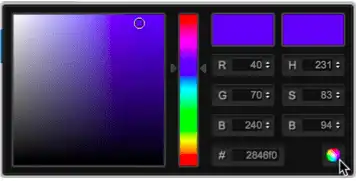
- Click the Color Wheel in the right corner of the box to save your color.
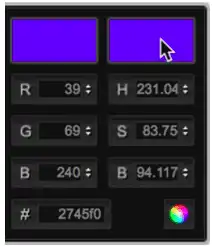
- If you want to revert the color back to the original, then click the colored rectangle on the right.
- Click the input box, located in the “Color Selector” section. The box will have a random assortment of letters and numbers, these represent a color. A new smaller black box will appear underneath this input box.
- Click the blue “Update & Preview” button, located on the left.

You will then be taken back to the email preview page. Make sure to look over the new preview, and if you changed your mind about the font or the components you enabled, just click on the “Edit Preview” button and make your desired changes.
Choosing Which Email Components to Include
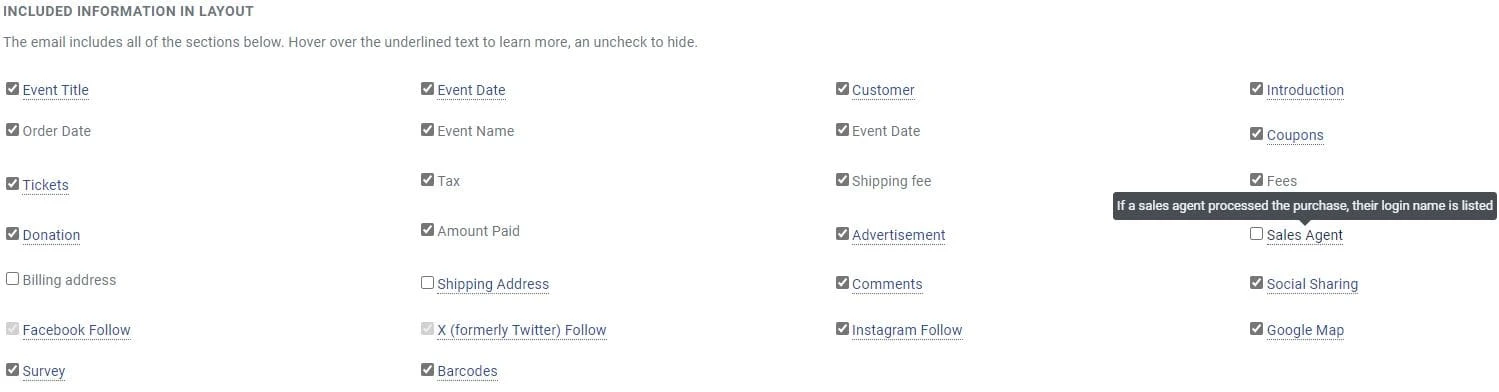
There are numerous optional components that you can include on the confirmation email. It’s important to understand what each of these components are. Therefore you should review the list below before deciding which components you want to include or exclude.
- Event Title – Enabling this component will show the name of the event the customer bought tickets to. It is centered at the top of the email.
- Event Date – Enabling this will show the date of the event the customer bought tickets to. It is centered underneath the event title at the top of the email.

- Customer – If you enable this, the email will start by addressing the customer by name.
- Introduction – As shown to your customer, the introduction is a paragraph of text you can set during every event creation, as an email option. Those introductory paragraphs of text are unique per event. The introductions text will show immediately after the customer’s name in the email confirmation.
- Order Date – Enabling this will show the date when the customer placed their order. This date will show in the receipt section of the email.

- Event Name – If you enable this, the name of the event that the customer bought tickets to will show underneath the order date.
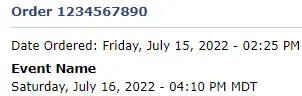
- Event Date – If you enable this the date of the event that the customer bought tickets to will show underneath the event name in the receipt section of the email.
- Coupons – Enabling this will display if the customer used any coupons on this order. These coupons will show underneath the event date in the receipt section of the email.
- Tickets – If you enable this component, the type and quantity of tickets the customer purchased will appear underneath the coupons used.
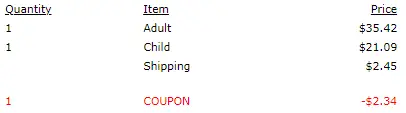
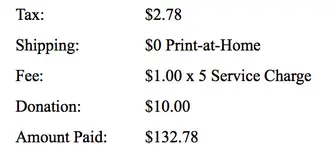
- Tax – Enabling this will show the tax applied to the customer’s order under the total tickets purchased.
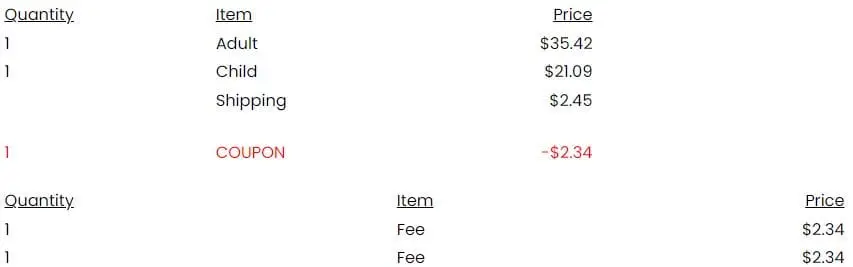
- Shipping Fee – If you enable this component, the shipping fee applied to the customer’s order will show under the tax applied (if your venue never has any shipping fees, then you should uncheck this option).
- Optional Fees – Enabling this will display any additional fees applied to the customer’s order. These fees will show underneath the shipping fee. If your venue never applies any extra fees, then you should uncheck this option.
- Donation – Enabling this will display if a customer donated any amount. The donation amount will be shown under fees.
- Amount Paid – Enabling this will show the total amount the customer paid for their order. It will be displayed under the donation component.
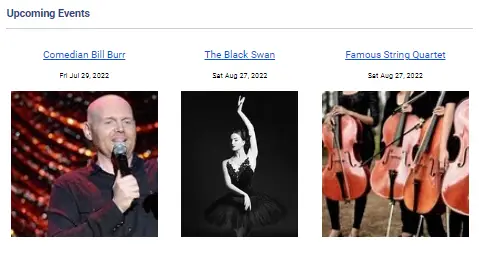
- Advertisement – Enabling this component causes three of your upcoming events to be displayed prominently in the custom email. Each of these advertisements includes a clickable link that takes your customer directly to these event pages to purchase tickets.
- It is highly recommended you keep these advertisements in your email since it can increase sales. These advertisements will be labeled “Upcoming Events” and will be shown underneath the Receipt section of the email.
- The potential additional ticket sales generated by the custom email can be greatly increased when you have a compelling image for each event. The display of upcoming events in custom email uses the image you uploaded when originally creating the event.
- Sales Agent – If a sales agent processed the customer’s order, their name would appear in the “Other Information” section, located underneath the directions.
- Billing Address – Enabling this will show the customer’s billing address under the sales agent.
- Shipping Address – If you enable this component, the customer’s shipping address will be shown under the billing address. This is only shown if the customer provided a shipping address for their order.
- Comments – Enabling this will show any customer comments under the shipping address. Comments are any additional notes the customers wanted to tell you during checkout.
- Social Sharing – Enabling this component will allow customers to click on these social sharing buttons to share that they purchased tickets to this show. Customers can share this information on Facebook, Instagram, or X (formerly known as Twitter).

- Facebook Follow – If you enable this, customers can click on this Facebook button to be taken to your venue’s Facebook page so they can like it.
- X Follow – If you enable this, customers can click on this X (formerly known as Twitter) button to be taken to your venue’s Twitter so they can follow you.
- Instagram Follow- If you enable this , customers can click on this Instagram button to be taken to your venue’s Instagram so they can follow you.
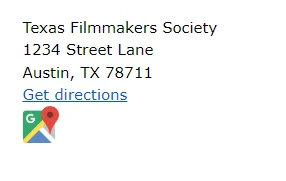
- Google Map – Enabling this component will show a google maps link that customers can click on to receive directions to your venue.
- Survey- Enabling this will display the questions and answers from an event survey.
- Barcodes- Enabiling this will display the unique barcode for each ticket ordered at the bottom of the email for quick retrieval of scanning.
Note: You must connect your venue’s Facebook, Instagram and X accounts in your account settings first, before you can enable the Facebook or Twitter Follow buttons. Additionally, to get the maximum benefits from the custom email social sharing, it is critical that you have your event/venue’s X (formerly known as Twitter), Instagram, and Facebook accounts up and running. Without those external accounts fully enabled, the potential of additional sales is diminished.