Selling tickets from the ThunderTix app is quick and easy! This ticket sales app allows you to sell tickets to events directly from your iOS device. All orders are saved to the ThunderTix ticketing website, and emails are generated and sent directly to your customers. This way of selling is incredibly useful if you're selling tickets at the door of an event. With just this one ticket sales app, your staff can scan and sell tickets. The app is available for free on the App Store for iPads and iPhones.
The following contains instructions on how to sell tickets through the ThunderTix app. If you wish to know how to scan tickets on the app, visit our Barcode Scanning How-To Guide. If you have any further questions, please visit our support forum.
Ticket Sales App
Through this ticket sales app, patrons can buy their tickets by cash or card. If a patron wants to pay by card, you can use a connected iOS credit card swipe device. (If you are in need of an iOS credit card swipe, you should visit the hardware tab on ThunderTix to view our available devices for purchase.) You can swipe the patron's card and the purchase will immediately go through the same payment gateway as all other credit card orders. Although, if you experience trouble with swiping someone's card, you can manually enter the card's information, too.
Follow these instructions below to sell tickets on the app:
- Download the ThunderTix App from the app store for iOS or Android.
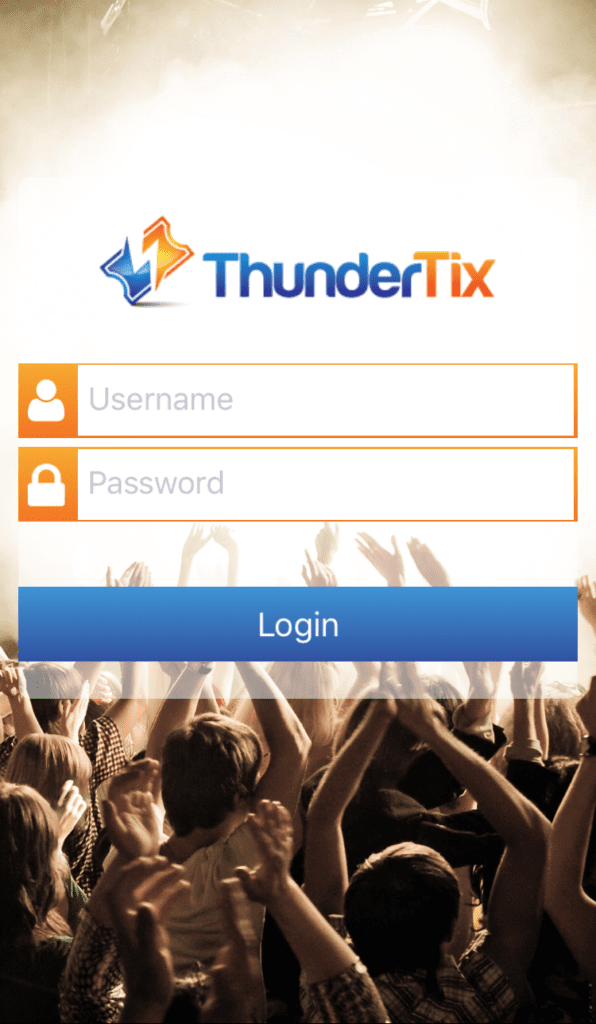
- Open the Ticket Sales App and log in with your ThunderTix account information.
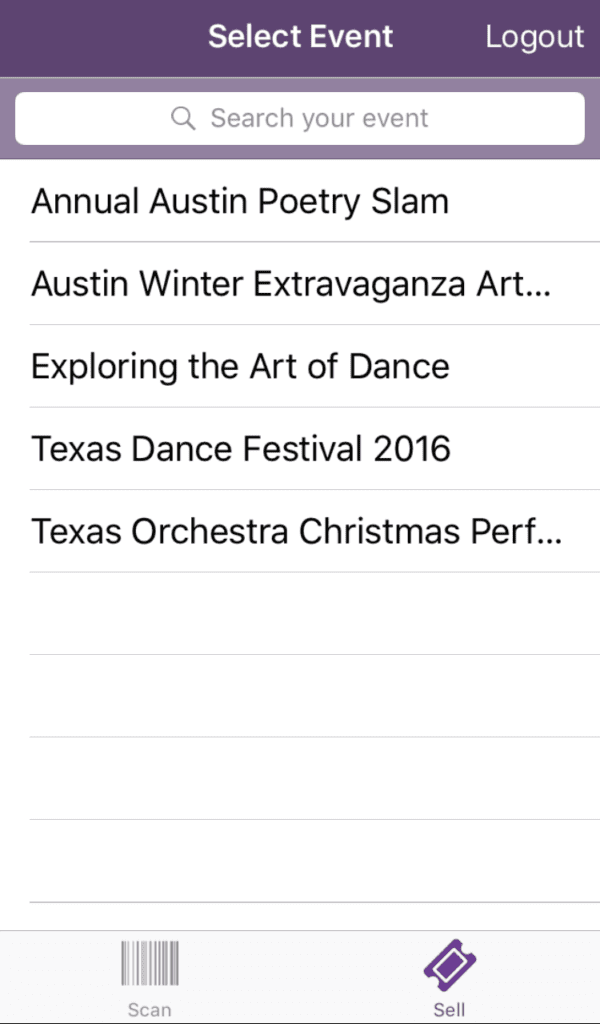
- Tap on the Sell icon at the bottom of the page.
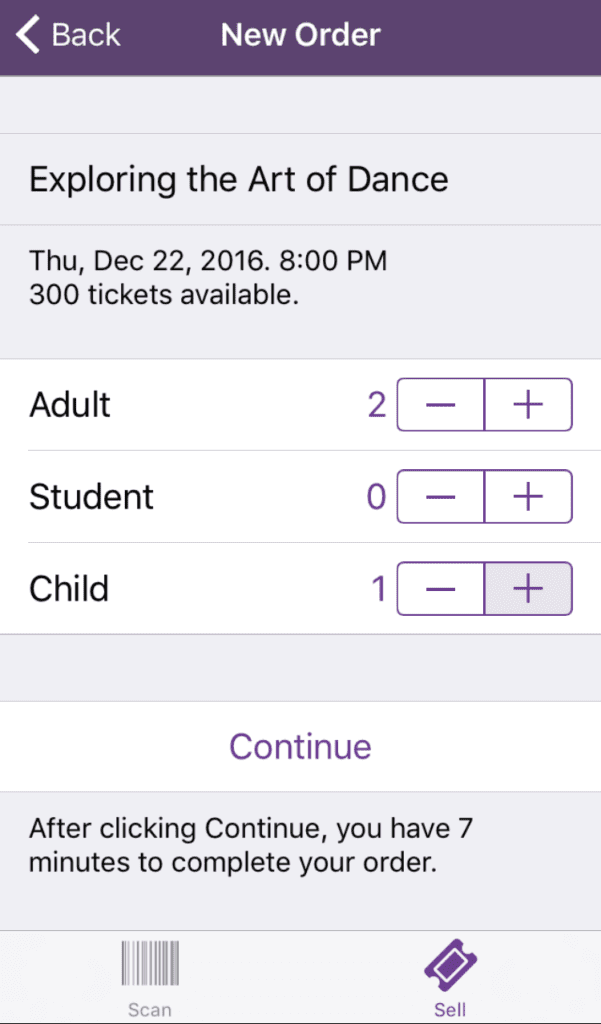
- Tap on the event you wish to sell tickets for. (If your event list is long, you can also type the event name into the search bar)
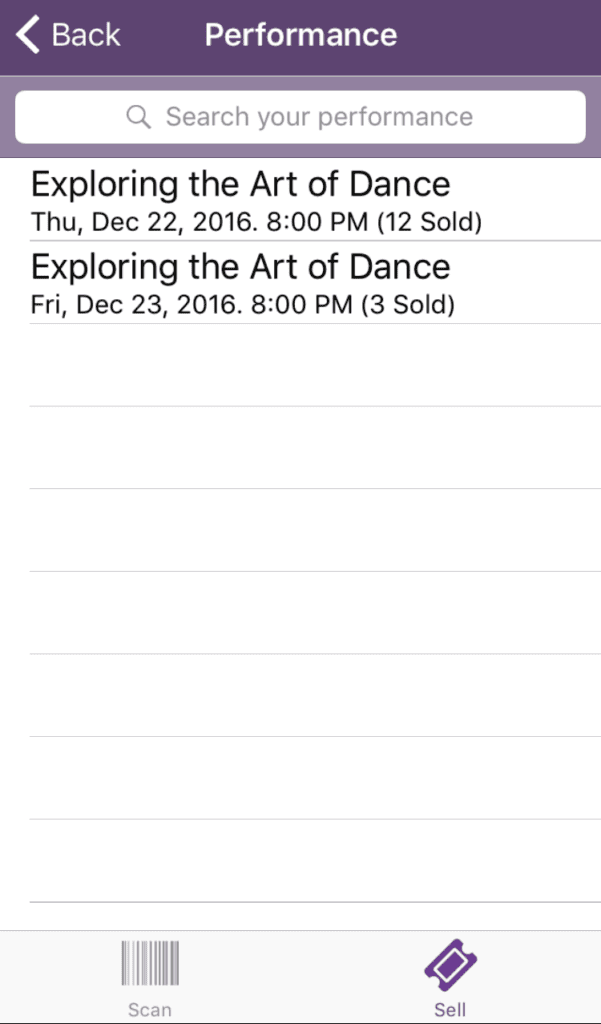
- Select the performance time you wish to sell tickets for.
- Click on the + button until you reach the customer's desired ticket amount, next to the customer's desired ticket type(s).
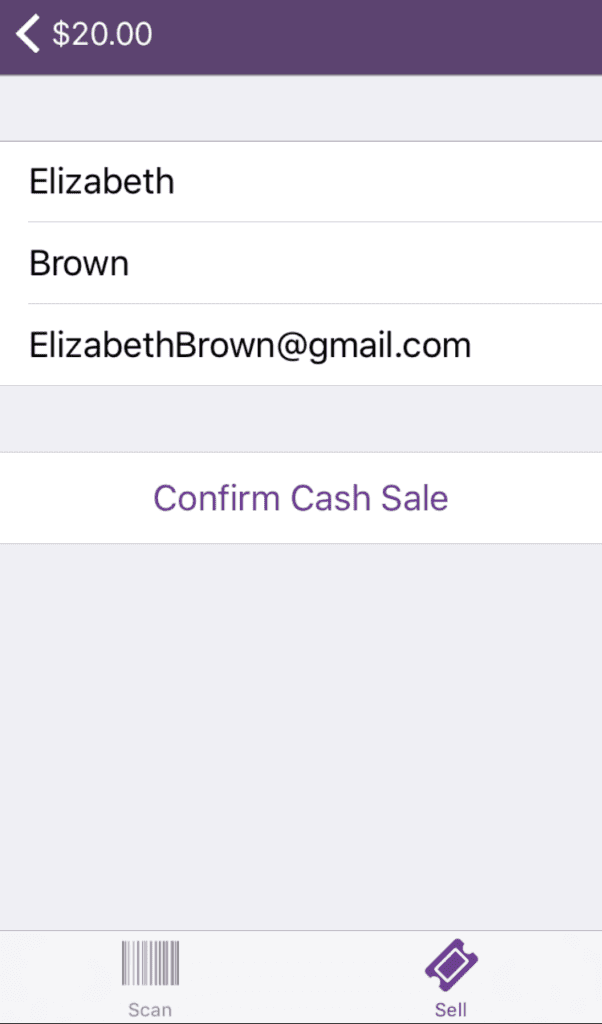
- Select either cash or credit card, depending on how the customer is paying.

- If the customer pays cash, there is no need to enter any of their information to make it a quick transaction. However, you have the option to enter their first and last name, as well as their email. Doing this will allow the customer to receive an emailed receipt of their purchase and they will also be entered in your Customer database within ThunderTix for marketing purposes.
- Click confirm cash sale.
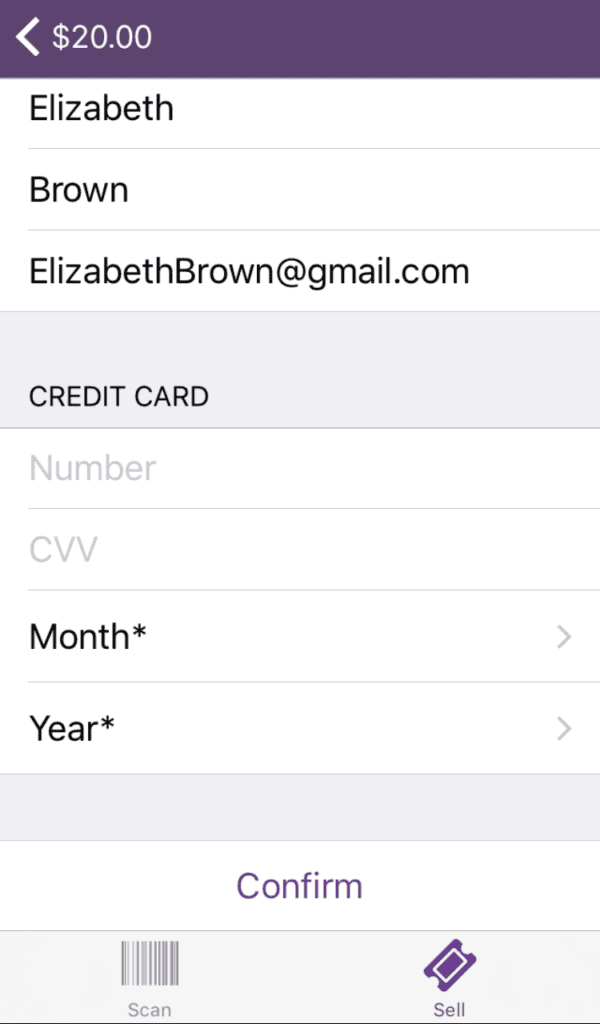
- If the customer pays by their card, you need to enter in their first and last name, and email.
- Then, you need to either swipe their card or enter in the information manually.
- Click confirm.
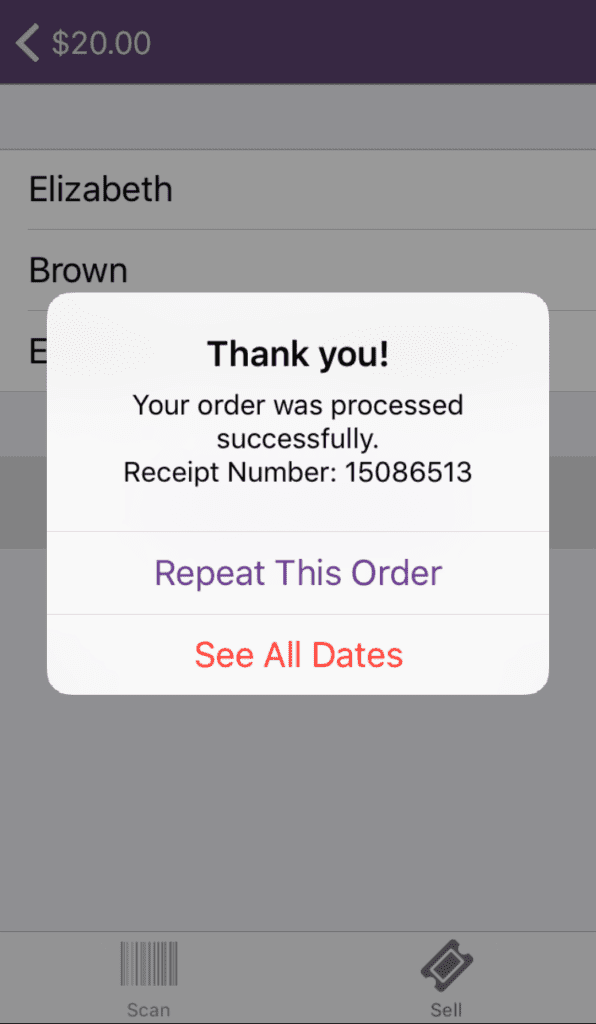
- A pop up will appear asking if you would like to "Repeat Order" or "See All Dates". If you tap repeat order, you are taken back to the page where you select the number of tickets. If you tap see all dates, you are taken back to the event listing.