
Setting up Concessions and Merchandise
Products provide a way for customers to purchase merchandise or pre-paid concessions with their admission tickets, and they allow you to sell those same items at any time through a separate shopping cart page.
Let’s cover the basics of creating, viewing, and editing concessions and merchandise with our Products module.
How to create a product
Regardless of whether you are selling concession items or merchandise, we’ll use the same process. Let’s create our first product.
For our example, we’ll create a new t-shirt item for our merchandise offerings. To begin, just click the green button in the upper left –+Create Product. This will expose a popup dialog box as shown below.
Fill in the details of your product such as name and description, image, and price.
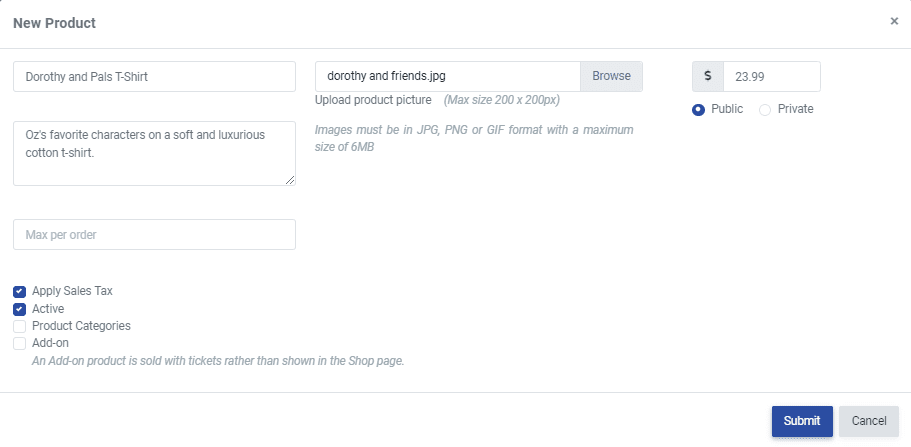
Below the product details, you have some additional options such as whether you will be applying sales tax. Check the box, Apply Sales Tax, and we’ll automatically apply your organization’s preset tax rate. (Your sales tax rate can be found in your Account Settings > Checkout Options > Tax Rate.)
In most cases, you’ll want to set the product as Active in order to make it available for sale. However, if a product is only available seasonally, uncheck this box.
The Product Categories allow you to specify things such as sizes or colors. For example, t-shirts might be available in small, medium, and large. (Note: products support a single price, so if you are selling items that have varied prices such as a small or large popcorn, please create separate items.)

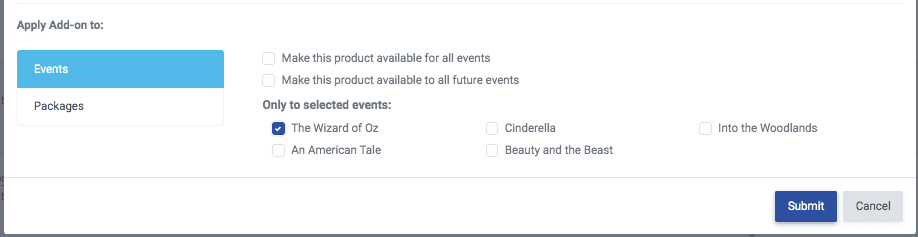
By default, the product will be available on your Shop page for the general public. However, you can limit the availability to only selected events or packages by clicking the final checkbox, Add-on. This will reveal a final dialog box. Check the events and packages for which your product should be available as an add-on to ticket purchase.
Click Submit and your product is ready for sale!
Where can I see all of my merchandise?
We’ve created our first merchandise item, so let’s go over the options available in the screenshot below displaying a list of Products. We have the option to edit any of the items here with a click, so let’s examine each of the options.
Let’s cover each of these columns. The Sort column allows you to click and drag the “handle” and move it into another position. For example, your most frequently sold items might appear at the top. Or perhaps you’d like to highlight your most profitable items and list them first. We’ll change the display here and in any pages these items appear to the public.
In the Product column, we list your name which you can click to edit. (The same edit function exists for Description and Price.) Beneath the name, you can manage the categories. If you recall, when we created this t-shirt, we added three sizes in the categories. Click to manage these or make adjustments. Finally, in this column we have a trash can icon used to delete the item, and a timer icon to view the history of changes to this item.
Description allows you to add a brief description of the product.
The Price column allows you to alter the current price and disable or enable tac for the item. To enable tax, click the T next to the price.
Inventory has four possible displays. When you do not actively manage inventory, it will appear as Unlimited. Alternatively, you can record initial stock on hand, and the display will appear as Available. We’ll automatically decrease this inventory as purchases are made, and as inventory drops, we’ll alert you when inventory is Low or Out of stock.
Inventory adjustments can be made to account for inventory changes such as incoming stock. Click the display to reveal how we record these changes. Here we show a tote bag where we reduce the inventory count for giveaways on an awards program. You can set an Inventory Threshold to show an easy display to users when a product has sufficient inventory or is running low.
We currently do not have a way to track inventory on specific categories for a product. You can create each category as an individual product as a way to better track inventory.

The Access column displays our initial settings where we set the t-shirt as publicly available and actively listed. Change these with a click.
Sales Availability allows you to update how the product will be offered. Shop Page Availability means it will be available on your separate Shop page via your public URL where patrons can purchase any merchandise for shipment or pickup.
Events and Packages availability allows you to make the product available for all, some, or none of your active events and packages.
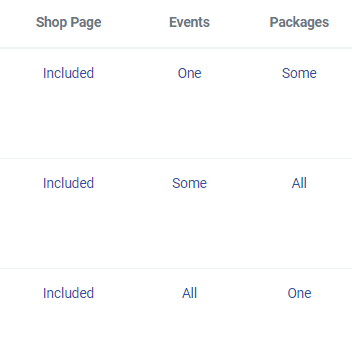
In our example above, we show that this is available for “One event”. In our example, we chose to make the t-shirt available only for our Wizard of Oz event. Alternatively, we might display “Some events” or “All events”. We do the same with its availability on packages such as your season passes.
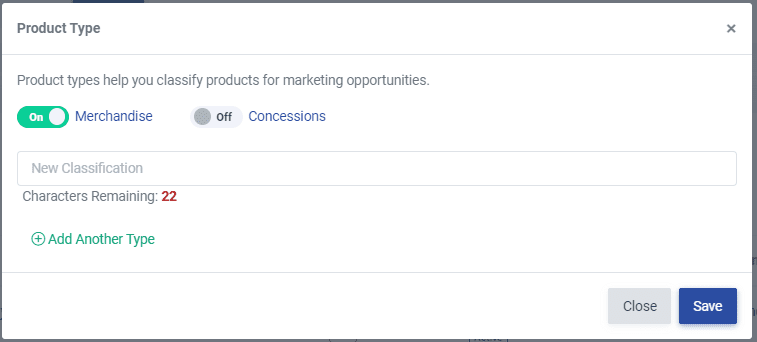
Under Type, you can click the “+” plus icon to reveal a new popup. This allows you to categorize your products and segment these categories for different displays. For example, you might separate Merchandise from Concessions. Below shows how we’ve updated our t-shirt to be part of the Merchandise category. To change the category or create additional categories, simply click again.
The Image column allows you to upload a product image. The image will display on your Shop Page and for the product availability when shown on events and packages.
Access product sales reports from the Reports column by viewing a list of product sales or by exporting the sales list.
Selling Products
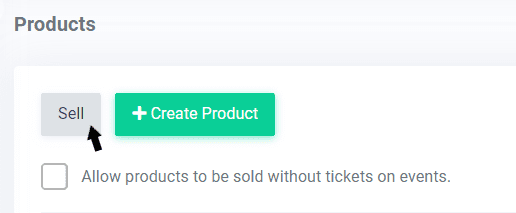
To sell products to customers over the phone or as they arrive at the box office, click Sell from your Products page. All active products will be displayed, allowing you to add as many products or concession items the patron wishes to purchase.
To allow customers to buy products on your subdomain, you’ll want to include them in your Shop Page. This is a setting you can enable on your products page, under the Shop Page column.

Customers can also buy products through events or packages. You can include products to be available for specific events or packages in the product settings.
Conclusion
Merchandise and Concessions provide additional revenue along with convenience for you and your customers. Consider allowing patrons to pre-purchase food and beverages, and have them waiting upon arrival.
Of course, we also offer you the ability to sell products directly, too. Right next to our “Create product” button at the top of our page, we have a “Sell” button. Just click to begin the sales process and add multiple items to your cart. We’ll have the same streamlined sales process we have for tickets, and we even track all purchases to the customer.
Happy selling!